
How to Add Text to Screenshots: Step-by-Step Tutorial
Make your screenshots pop with beautiful text, attracting views & driving engagement.
A screenshot can capture information instantly, but sometimes an image alone isn't enough to communicate your message clearly. That's where adding text to a screenshot becomes incredibly valuable.
Whether you're creating a tutorial, reporting a software bug, providing customer support, sharing feedback with a team, or posting instructions on social media, text annotations help explain exactly what viewers should notice and understand.
The ability to add text to screenshots has become an essential skill for professionals, educators, content creators, customer support teams, marketers, and everyday users alike.
In this guide, you'll learn how to add text to screenshots using different tools and devices, along with practical tips for creating annotations that are clear, professional, and easy to understand.
Why Add Text to Screenshots?
Before diving into the process, it's important to understand why text annotations are so effective.
Screenshots provide visual evidence, while text provides context. Together, they create a powerful communication tool.
Benefits of Adding Text to Screenshots
Improves clarity and understanding
Saves time explaining details separately
Enhances tutorials and guides
Improves team collaboration
Creates more professional documentation
Helps viewers focus on important information
Instead of asking someone to guess what they should look at, text annotations tell them exactly what matters.
Choosing the Right Tool
The first step is selecting software that allows you to add text to screenshots efficiently. There are many options available, ranging from simple built-in tools to professional screenshot editors.
Selecting Software or Apps
Different users have different needs. Some only need basic annotations, while others require advanced editing capabilities.
Snagit
Snagit is one of the most popular screenshot annotation tools available.
Key features include:
Professional text annotations
Custom fonts and styles
Callouts and labels
Templates and presets
Screen recording capabilities
It is ideal for:
Technical writers
Customer support teams
Trainers and educators
Content creators
Skitch
Skitch is known for its simplicity and speed.
Benefits include:
Easy text insertion
Simple user interface
Quick annotation tools
Fast sharing options
It's a great choice for users who want straightforward screenshot editing without a steep learning curve.
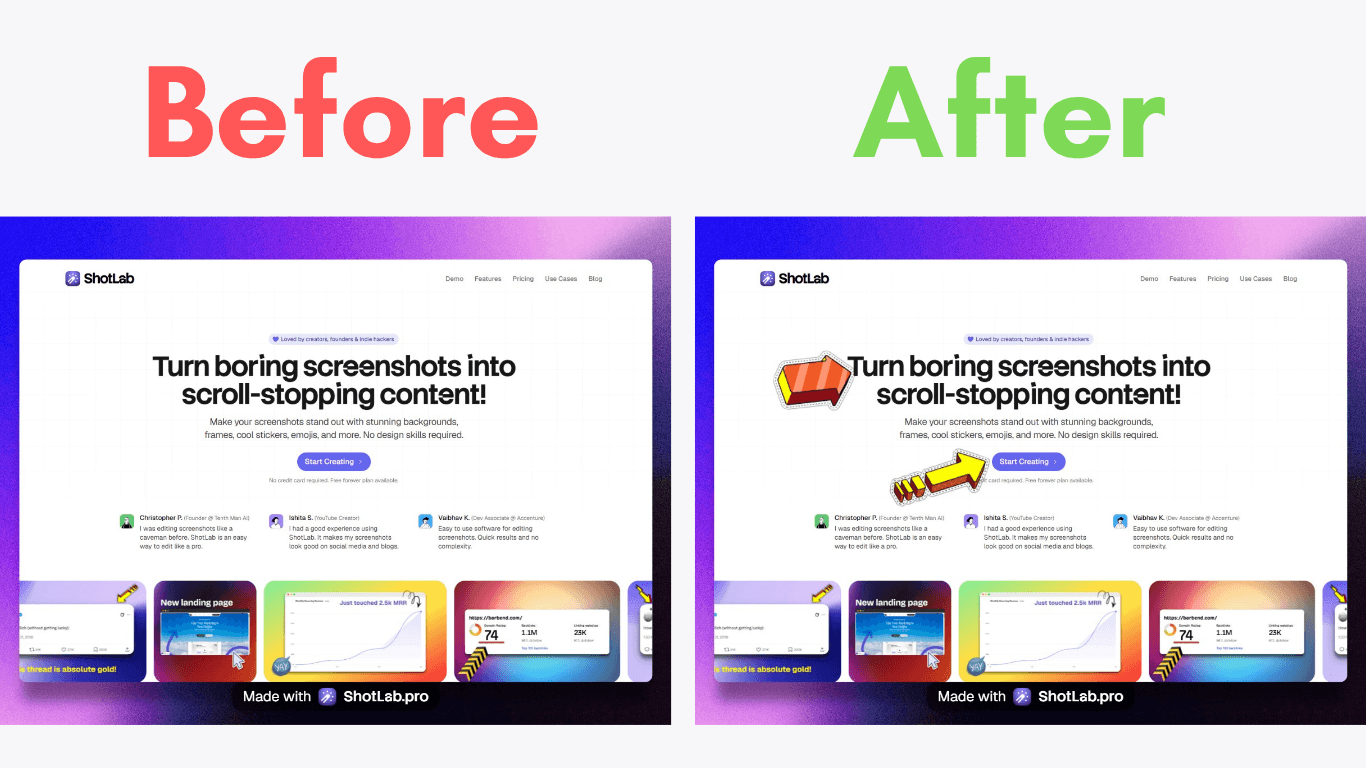
ShotLab
ShotLab focuses specifically on screenshot enhancement and annotation.
Notable features include:
Modern editing workspace
Custom text styling
Annotation features
Screenshot organization tools
User-friendly interface
For users creating tutorials or documentation regularly, ShotLab provides a streamlined workflow.
Built-in Operating System Tools
Most devices already include basic screenshot annotation features.
Examples include:
Windows
Paint
Snipping Tool
macOS
Preview
Markup Tools
Android
Built-in screenshot editor
Google Photos Markup
iPhone and iPad
Markup Editor
Photos App Annotation Tools
For occasional use, these built-in options may be all you need.
Compatibility Considerations
Before selecting a tool, consider the device and operating system you'll be using.
Windows Compatibility
Most screenshot editors support Windows, including:
Snagit
ShotLab
Greenshot
Paint
Windows users generally have the widest selection of annotation software.
macOS Compatibility
Mac users can choose from:
Preview
Snagit
Skitch
ShotLab
Preview alone offers surprisingly powerful annotation features.
Android Compatibility
Android devices often include built-in screenshot editors.
Additional options may include:
Google Photos
Third-party annotation apps
Cloud-based editors
iOS Compatibility
iPhone and iPad users can use:
Markup
Photos Editor
Third-party screenshot apps
Apple's built-in tools make text annotation quick and intuitive.
Step-by-Step Process
Now let's walk through the complete process of adding text to a screenshot.
Taking the Screenshot
Before you can add text, you need a clear screenshot.
On Windows
Use: Windows + Shift + S
This opens the Snipping Tool and allows you to capture specific areas of the screen.
Alternatively: PrtScn captures the entire screen.
On macOS
Use: Command + Shift + 4 to select a specific area.
Or: Command + Shift + 3 to capture the full screen.
On Android
Most Android devices use: Power + Volume Down simultaneously.
The screenshot will typically appear in the notification panel.
On iPhone
For Face ID devices: Side Button + Volume Up
For Touch ID devices: Home Button + Power Button
The screenshot is automatically saved to Photos.
Tips for Better Screenshots
Before capturing:
Remove unnecessary clutter
Close irrelevant tabs or windows
Zoom in when needed
Focus only on the important area
Ensure text is readable
A clean screenshot makes annotations much more effective.
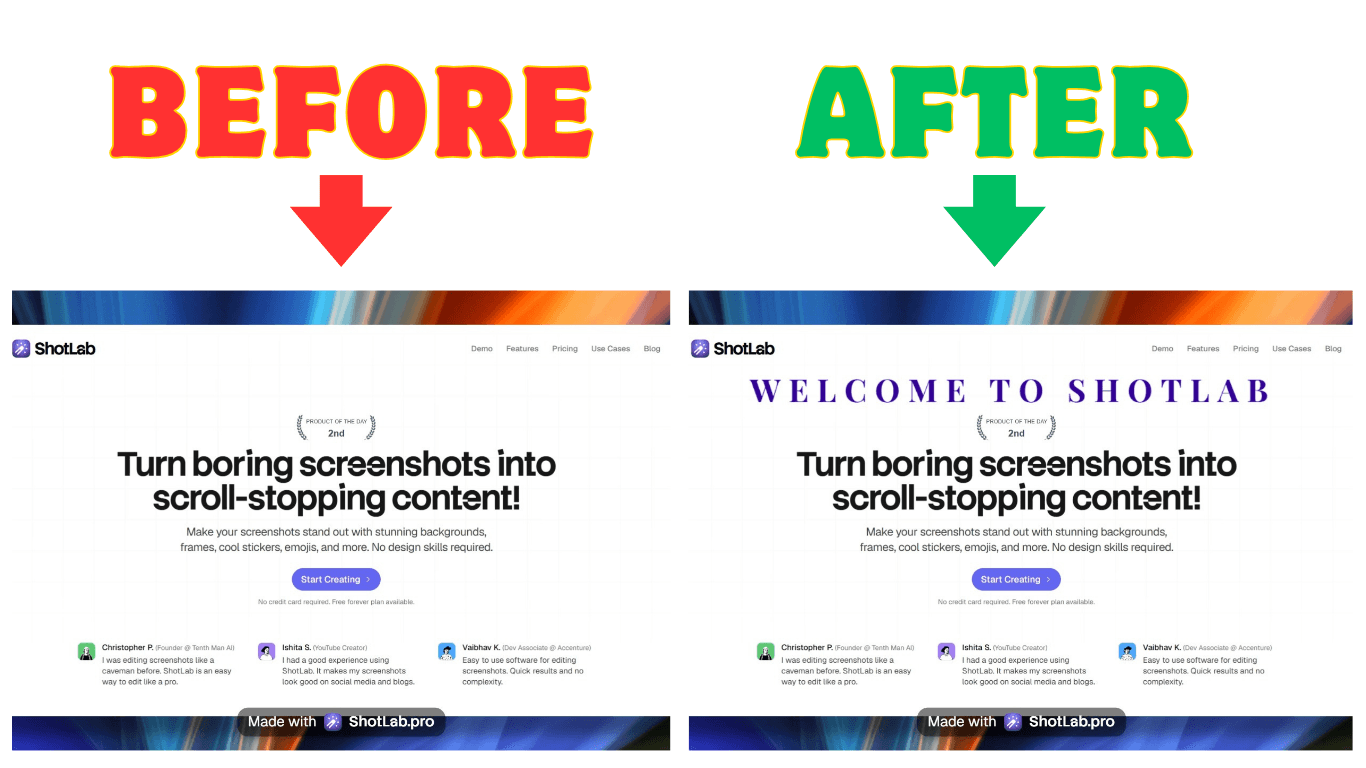
Adding Text
Once your screenshot is ready, it's time to add text.
Step 1: Open the Screenshot
Launch your preferred screenshot editor and import the image.
Most tools allow you to:
Drag and drop files
Open from storage
Paste directly from the clipboard
Step 2: Select the Text Tool
Look for options labeled:
Text
Add Text
Annotation
Label
Click the text tool to activate it.
Step 3: Click Where You Want the Text
Choose the area of the screenshot where the text should appear.
Try to avoid covering important content.
Step 4: Enter Your Message
Keep your text concise.
Examples include:
Click here
Error occurs here
Update this setting
Missing button
New feature
Short messages are usually more effective than lengthy explanations.
Step 5: Customize Appearance
Most tools allow you to adjust:
Font style
Font size
Text color
Alignment
Background color
Choose settings that maximize readability.
Best Font Practices
Use fonts that are:
Simple
Professional
Easy to read
Popular choices include:
Arial
Helvetica
Calibri
Roboto
Avoid decorative fonts that may distract readers.
Best Color Practices
Consider using:
White text on dark backgrounds
Black text on light backgrounds
Brand colors when appropriate
Maintain strong contrast between the text and screenshot.
Saving and Sharing
After editing, save your screenshot in a suitable format.
PNG Format
Best for:
Tutorials
Documentation
User guides
Screenshots with text
PNG preserves image quality and keeps text sharp.
JPEG Format
Best for:
Smaller file sizes
Email attachments
Social media sharing
JPEG compression may slightly reduce image quality.
Sharing Your Annotated Screenshot
Once saved, you can share your screenshot through multiple channels.
Perfect for:
Customer support
Team communication
Client feedback
Social Media
Useful for:
Tutorials
Product updates
Educational content
Cloud Storage
Services such as:
Google Drive
Dropbox
OneDrive
make sharing and collaboration easier.
Messaging Platforms
You can also send screenshots via:
Slack
Microsoft Teams
WhatsApp
Telegram
for quick communication.
Tips for Effective Text Integration
Adding text is easy. Making it effective requires thoughtful design.
Keep Text Concise
Avoid lengthy paragraphs inside screenshots.
Instead of: "Please click this button because it will take you to the next screen where you can update your account settings."
Use: "Click to update settings."
Shorter text improves comprehension.
Avoid Visual Clutter
Too many annotations can overwhelm viewers. Focus only on the information that matters.
Use Contrasting Colors
Text should stand out immediately. Good examples include:
White on dark backgrounds
Black on light backgrounds
Yellow on dark images
Poor contrast can make text difficult to read.
Maintain Consistency
Use the same:
Fonts
Colors
Sizes
throughout a guide or tutorial. Consistency creates a more professional appearance.
Accessibility and Clarity
Your screenshot should be understandable to as many people as possible.
Use Simple Language
Avoid technical jargon unless your audience specifically expects it. Clear language improves accessibility.
Make Text Large Enough
Small text may look fine on a desktop monitor but become unreadable on mobile devices.
Ensure annotations remain legible at different screen sizes.
Test Across Devices
Before publishing or sharing:
View on desktop
View on mobile
Check tablet compatibility
This helps ensure a consistent user experience.
Consider Color Accessibility
Avoid relying solely on color to convey meaning.
For example:
❌ "The red section is important."
✅ "The highlighted section is important."
This improves accessibility for users with color vision deficiencies.
Common Mistakes to Avoid
Many users unintentionally reduce the effectiveness of their annotations. Avoid these common issues:
Using Too Much Text: Readers prefer quick explanations.
Choosing Hard-to-Read Fonts: Fancy fonts often hurt readability.
Covering Important Information: Place text carefully.
Using Low Contrast Colors: Always prioritize visibility.
Inconsistent Styling: Maintain a unified design throughout your screenshots.
Conclusion
Adding text to screenshots is one of the simplest ways to improve communication, whether you're creating tutorials, reporting issues, collaborating with teammates, or sharing information online.
By combining visuals with clear annotations, you help viewers understand information faster and reduce the chances of confusion. The right text can transform a basic screenshot into a powerful communication tool.
Whether you choose built-in operating system features or dedicated screenshot annotation software like Snagit, Skitch, or ShotLab, the process is straightforward and easy to learn.
Start experimenting with different tools, fonts, colors, and layouts today. With a little practice, you'll create professional-looking screenshots that communicate your message clearly, efficiently, and effectively.
Related Posts
5 Best Screenshot Tools to Capture, Beautify, and Share Stunning Visuals in 2026