
How to Add Arrows to Screenshots: A Step-by-Step Guide
Make your screenshots stand out with custom arrows, text & annotations.
Have you ever sent a screenshot to a colleague, customer, or friend only to receive the question, "What exactly am I supposed to look at?"
Screenshots are one of the fastest ways to explain a process, report a bug, create tutorials, or share information. However, a plain screenshot often leaves room for confusion. That's where arrows become incredibly useful.
Adding arrows to screenshots helps direct attention to specific elements, making your message clearer and easier to understand.
Whether you are:
Creating software tutorials
Writing product documentation
Reporting website bugs
Explaining design changes
or sharing feedback with clients,
arrows can dramatically improve communication and reduce misunderstandings.
In this guide, you'll learn how to add arrows to screenshots using both built-in computer tools and professional screenshot annotation software. We'll also cover best practices to ensure your annotations remain clean, professional, and easy to understand.
Why Add Arrows to Screenshots?
Before diving into the tools, it's worth understanding why screenshot annotations are so effective.
Visual communication is processed much faster than text. When users see a screenshot with a clearly placed arrow, they immediately know where to focus.
Benefits of Adding Arrows:
Improves clarity and understanding
Reduces explanation time
Makes tutorials easier to follow
Enhances customer support documentation
Speeds up feedback and collaboration
Imagine trying to explain a small button hidden in a crowded interface. Without annotations, readers may spend valuable time searching. With an arrow, the answer becomes obvious in seconds.
Tools for Adding Arrows to Screenshots
The good news is that you don't need expensive software to annotate screenshots. Several built-in and third-party tools can help you quickly add arrows and other visual markers.
Built-in Computer Tools
Using Paint on Windows
If you're a Windows user, Microsoft Paint provides a simple and free solution for basic screenshot annotation.
Paint comes pre-installed on most Windows computers and allows users to:
Draw custom arrows
Add text labels
Change color & thickness
For simple annotations, Paint remains one of the easiest tools to use.
Using Preview on macOS
Mac users have access to Preview, a built-in application that includes powerful annotation features.
With Preview, you can:
Add arrows and shapes
Insert text boxes
Highlight important areas
Use markup tools
Since no additional software installation is required, Preview is ideal for quick screenshot edits.
Third-Party Softwares
While built-in tools work well for basic needs, professional users often require more advanced functionality.
Snagit
Snagit is one of the most popular screenshot and screen recording tools available.
Key features include:
Professional arrow libraries
Smart annotations
Callouts and labels
Screen recording capabilities
Snagit is particularly useful for technical writers, educators, customer support teams, and content creators.
ShotLab
ShotLab is designed specifically for quick screenshot editing and annotation.
It's standout features include:
Custom arrow styles
Modern editing interface
Fast workflow
Export images in multiple formats
For users who frequently create tutorials or documentation, ShotLab offers a streamlined annotation experience.
Greenshot
Greenshot is a lightweight screenshot tool known for its simplicity and speed.
Benefits include:
Free and open-source
Quick screenshot capture
Easy arrow insertion
Highlighting tools
Many users choose Greenshot because it offers excellent annotation features without unnecessary complexity.
Why Use Specialized Screenshot Software?
Dedicated screenshot annotation tools provide advantages such as:
Faster editing workflows
Better design consistency
Reusable annotation presets
Advanced arrow customization
Professional-looking outputs
If screenshots are a regular part of your work, investing in specialized software can significantly improve productivity.
Step-by-Step Guide to Adding Arrows
Let's explore exactly how to add arrows using different tools.
How to Add Arrows in Paint (Windows)
Follow these simple steps:
Step 1: Open paint
Search for "Paint" in the Windows Start Menu and launch the application.
Step 2: Open your screenshot
Click: File → Open
Select the screenshot you want to edit.
Step 3: Access shapes
Navigate to the toolbar and locate the Shapes section.
Step 4: Select an arrow shape
Choose one of the available arrow styles.
Options may include right arrow, left arrow, up arrow or down arrow.
Step 5: Draw the arrow
Click and drag across the screenshot to position the arrow.
Adjust the length, direction & placement until it points precisely to the intended element.
Step 6: Customize the arrow
Use the toolbar to modify:
Arrow color
Outline color
Thickness
Fill style
Bright colors like red, orange, and yellow often attract attention effectively.
Step 7: Save the screenshot
Click: File → Save As
Choose your preferred format, such as PNG or JPEG.
Your annotated screenshot is now ready to share.
How to Add Arrows in Preview (macOS)
Mac users can annotate screenshots using Preview in just a few minutes.
Step 1: Open the screenshot
Double-click the screenshot to open it in Preview.
Step 2: Open markup tools
Click the Markup Toolbar button. This reveals the annotation options.
Step 3: Insert an arrow
Select the Shapes menu and choose the arrow option.
Step 4: Position the arrow
Drag the arrow to the desired location. Resize it using the adjustment handles.
Step 5: Customize appearance
Adjust the color, thickness & border style to improve visibility.
Step 6: Save changes
Press: File → Save or Export to create a new version.
Your annotated image is now complete.
How to Add Arrows Using Snagit
Snagit offers one of the most intuitive annotation workflows available.
Step 1: Capture or import a screenshot
Open Snagit and either:
Capture a new screenshot
Import an existing image
Step 2: Select arrow tool
From the toolbar, choose: Annotations → Arrow
Step 3: Add the arrow
Click and drag from the starting point to the target area.
Step 4: Customize the design
Modify:
Color
Size
Line weight
Arrowhead style
Transparency
Step 5: Add supporting text
Combine arrows with labels or callouts to provide additional context.
Step 6: Export the image
Save the file in your preferred format and share it.
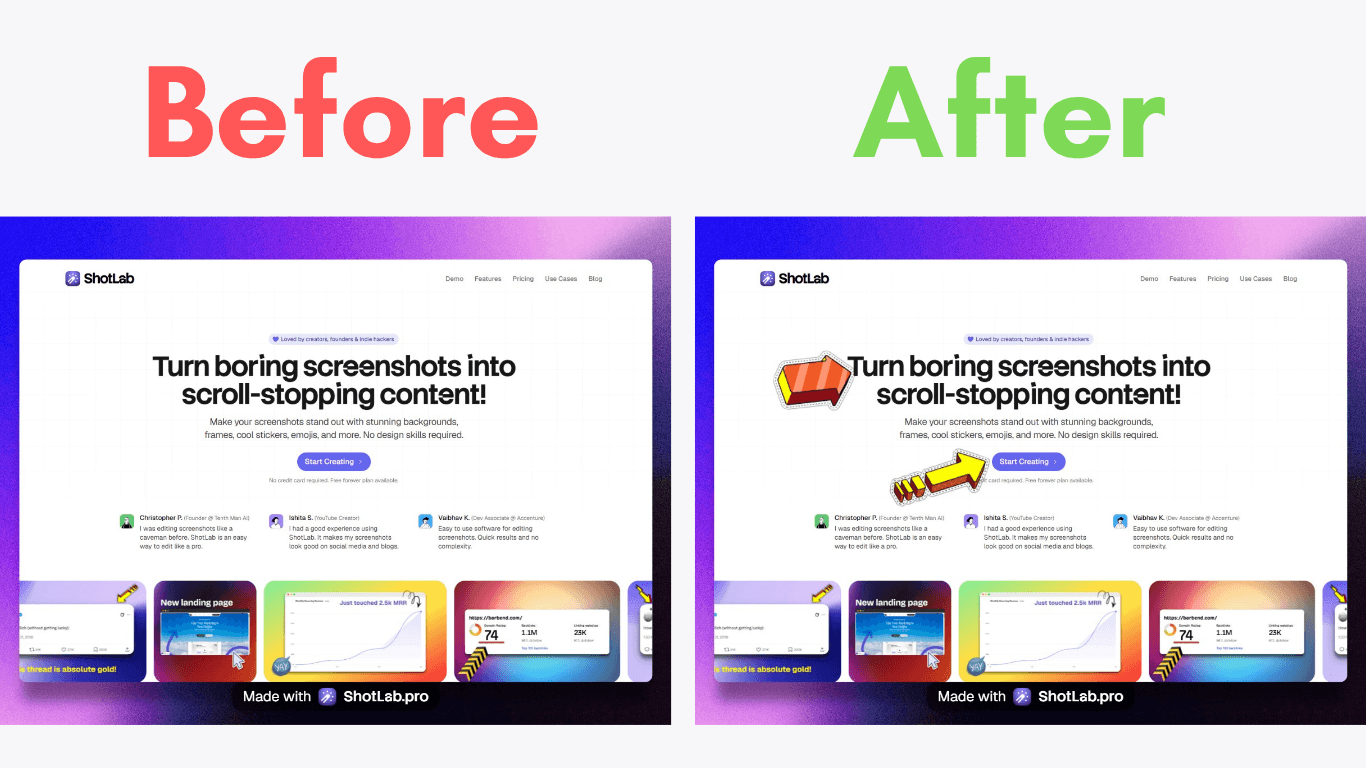
How to Add Arrows Using ShotLab
ShotLab makes screenshot editing simple, and easy. Best for beginners and non-designers.
Step 1: Open the ShotLab editor
Open the web app and click start creating
Step 2: Import, paste or take a screenshot
The screenshot will appear in the image preview window.
Step 3: Select arrow tool
From the side toolbar, choose: Stickers → Arrows
Step 4: Add the arrow
Choose from a multitude of arrow options. Click on any arrow to show it on the canvas.
Step 5: Adjust the arrow
Modify:
Size
Position
Rotation
Step 6: Export the image
Save the file in your preferred format and share it.
How to Add Arrows Using Greenshot
Greenshot makes screenshot annotation fast and efficient.
Step 1: Launch Greenshot
Open the application.
Step 2: Capture a screenshot
Use the built-in capture shortcut.
Step 3: Open image editor
The screenshot automatically loads into Greenshot's editor.
Step 4: Choose arrow tool
Locate the arrow annotation option in the toolbar.
Step 5: Draw the arrow
Click and drag to point toward the area you want to highlight.
Step 6: Customize appearance
Adjust:
Color
Thickness
Opacity
Step 7: Save or Export
Save the annotated image or share it directly through available export options.
Tips for Effective Annotation
Adding arrows is easy. Using them effectively is what separates professional-looking screenshots from cluttered ones.
Choosing the Right Arrow Style
Not all arrows serve the same purpose. Different styles communicate different levels of emphasis.
Bold Arrows
Bold arrows are best for:
Important actions
Critical warnings
Key interface elements
Thin Arrows
Thin arrows are ideal for:
Technical documentation
Detailed workflows
Minimalist designs
Curved Arrows
Curved arrows are useful when:
Pointing around obstacles
Demonstrating movement
Showing process flow
Color Selection Tips
Consider using:
Red for urgent attention
Yellow for highlighting
Blue for informational guidance
Green for positive actions or confirmations
Maintain consistency throughout your document to create a professional appearance.
Ensuring Clarity and Readability
Even the best arrows can become ineffective if overused.
Follow these best practices:
Keep Screenshots Clean
Avoid adding too many arrows to a single image.
Too many annotations can overwhelm viewers and reduce comprehension.
Point Precisely
Ensure arrowheads target the exact element being referenced. Vague placement can create confusion.
Use Labels When Necessary
Combining arrows with short text explanations often improves understanding.
A few text examples you can use:
Click here
Open this
Use this
Maintain Visual Balance
Leave enough spacing between:
Arrows
Text labels
Interface elements
This prevents screenshots from looking crowded.
Use Consistent Styling
Maintain the same:
Colors
Arrow types
Line thickness
throughout a guide or tutorial. Consistency improves professionalism and user experience.
Common Mistakes to Avoid
When annotating screenshots, avoid these common errors:
Using Too Many Colors
Multiple bright colors can distract users. Stick to a simple color palette.
Overlapping Annotations
Avoid placing arrows on top of text or interface elements.
Excessive Arrow Usage
If everything is highlighted, nothing stands out.
Ignoring Mobile Users
Ensure arrows remain visible even when screenshots are viewed on smaller screens.
Inconsistent Design
Changing arrow styles throughout a document can make tutorials look unorganized.
Conclusion
Adding arrows to screenshots is one of the simplest yet most effective ways to improve visual communication. Whether you're creating tutorials, documentation, providing customer support, or collaborating with team members, arrows help viewers quickly identify the information that matters most.
Fortunately, you don't need advanced design skills to get started. Built-in tools like Paint and Preview provide quick solutions, while professional software such as Snagit, ShotLab or Greenshot offer powerful annotation capabilities for more advanced workflows.
The key is to use arrows thoughtfully. Choose the right style, maintain consistency, and avoid cluttering your screenshots with unnecessary annotations.
With a little practice, you'll create clearer, more professional screenshots that communicate your message instantly and effectively.
Related Posts
5 Ways Screenshots Improve Feature Announcements
5 Best Screenshot Tools to Capture, Beautify, and Share Stunning Visuals in 2026